Live performance photography is a small miracle: you are freezing motion in near-darkness while pretending you do not exist. Theatre and dance ask for a specific kind of respect, the kind that recognizes the lighting designer’s palette as part of the storytelling and the audience’s attention as sacred. Your job is not to “improve” the show. Your job is to translate it.
Whether you are in a Broadway balcony, a black box on a folding chair, or tucked beside the stage at a dance festival, the rules of the game stay the same: be invisible, be prepared, and let the performers keep the spotlight.
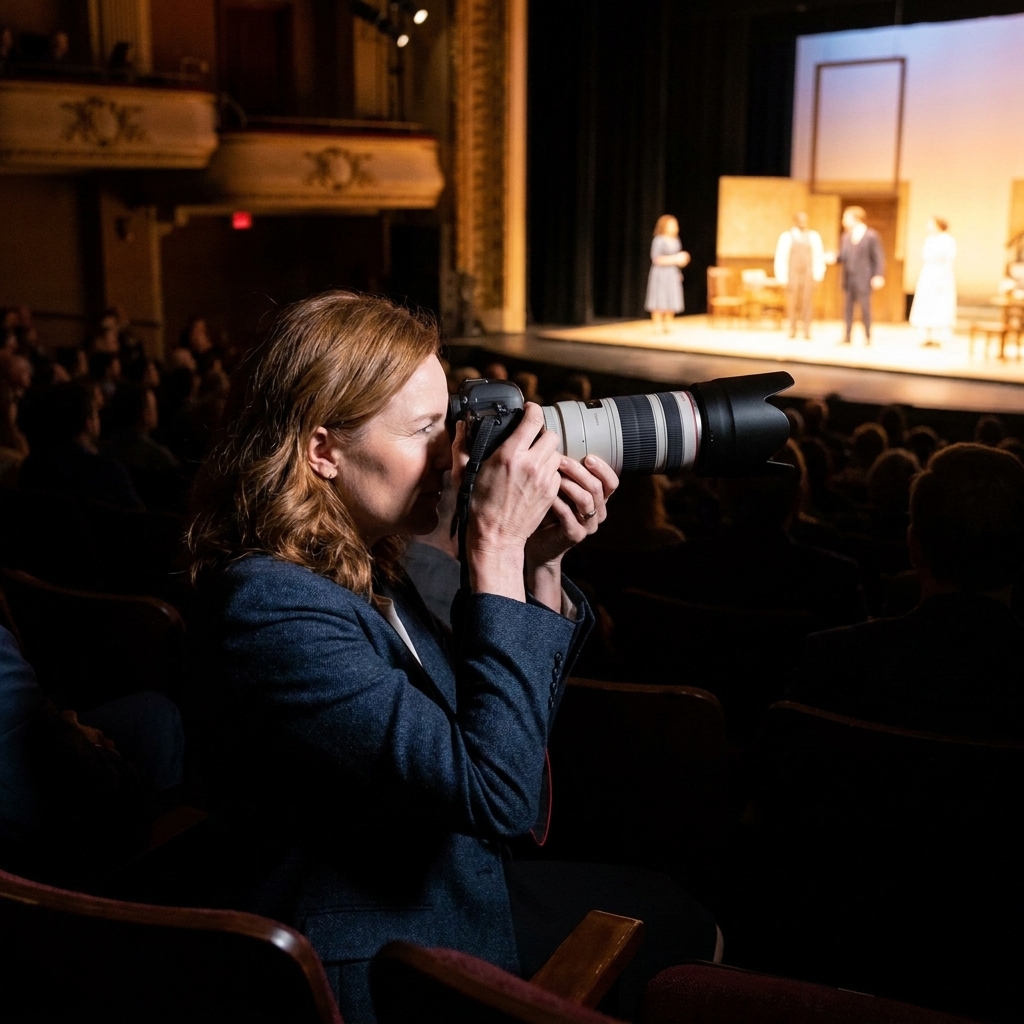
First, confirm you are allowed to shoot
Before we talk ISO, we talk permission. Policies vary wildly by venue, contract, and union rules. Broadway and many union houses often restrict photography to credentialed press calls or a tightly controlled photo call, and some productions prohibit it entirely. Smaller theatres and dance companies can be more flexible, but there may still be licensing terms, artist preferences, or rights agreements that limit what you can do and where images can appear.
Ask these questions upfront
- Is photography allowed at all? If yes, is it during rehearsal, dress, a designated song, a photo call, or the full performance?
- Is flash permitted? Default to no. Use flash only if the production explicitly authorizes it and the performers are informed.
- Where can I shoot from? House left or right, back of house, balcony, aisle restrictions, or a dedicated pit.
- Can I move during the performance? If movement is allowed, ask when and how.
- How will images be used? Editorial, archival, social, portfolio, and promotional use can require different approvals.
If you are shooting for the company, confirm crediting, delivery, and licensing expectations in writing. If you are a patron, follow the house rules. The most respectful camera setting is the one that stays in your bag when the production asks for it.
Gear that stays out of the way
Stage work rewards a quiet, fast system more than it rewards a giant kit. You want gear that performs in low light and focuses confidently on moving bodies, but you also want to be physically unobtrusive. The best compliment you can get from an usher is: “Oh, I forgot you were there.”
Camera body priorities
- Great high-ISO performance: Clean files at ISO 3200 to 12800 makes life easier.
- Reliable continuous autofocus: Dancers do not hit marks like actors. They fly.
- Silent or quiet shutter mode: Essential for intimate scenes and spoken word.
- Good burst rate and buffer: For leaps, turns, and ensemble patterns.
- Anti-flicker tools: If your camera has anti-flicker or flicker reduction, learn it. Modern LED stage lighting can cause banding that is hard to fix later.
Lenses that earn their keep
Your lens choice depends on distance and access. But in most venues, fast glass is your best friend.
- 70-200mm f/2.8: A classic for a reason. Great reach for proscenium stages from mid-house or balcony.
- 24-70mm f/2.8: Versatile for wider storytelling shots, especially from the aisle or pit.
- Prime options (f/1.4 to f/2): 50mm, 85mm, or 135mm primes are gorgeous in low light, but less flexible when blocking changes quickly.
- Avoid super-long, slow zooms if you can. f/5.6 in a dim theatre is a recipe for noisy files or motion blur.
Accessories you will actually use
- Extra batteries: EVF use, continuous AF, bursts, and image stabilization can drain power fast.
- Spare cards: Burst sequences fill storage quickly.
- Dark, non-reflective clothing: Yes, it counts as gear.
- Gaffer tape: Helpful for covering bright logos or securing a dangling strap.
Tripods are rarely welcome in audience spaces. Monopods can be allowed in pits or at the back of house, but always ask first.
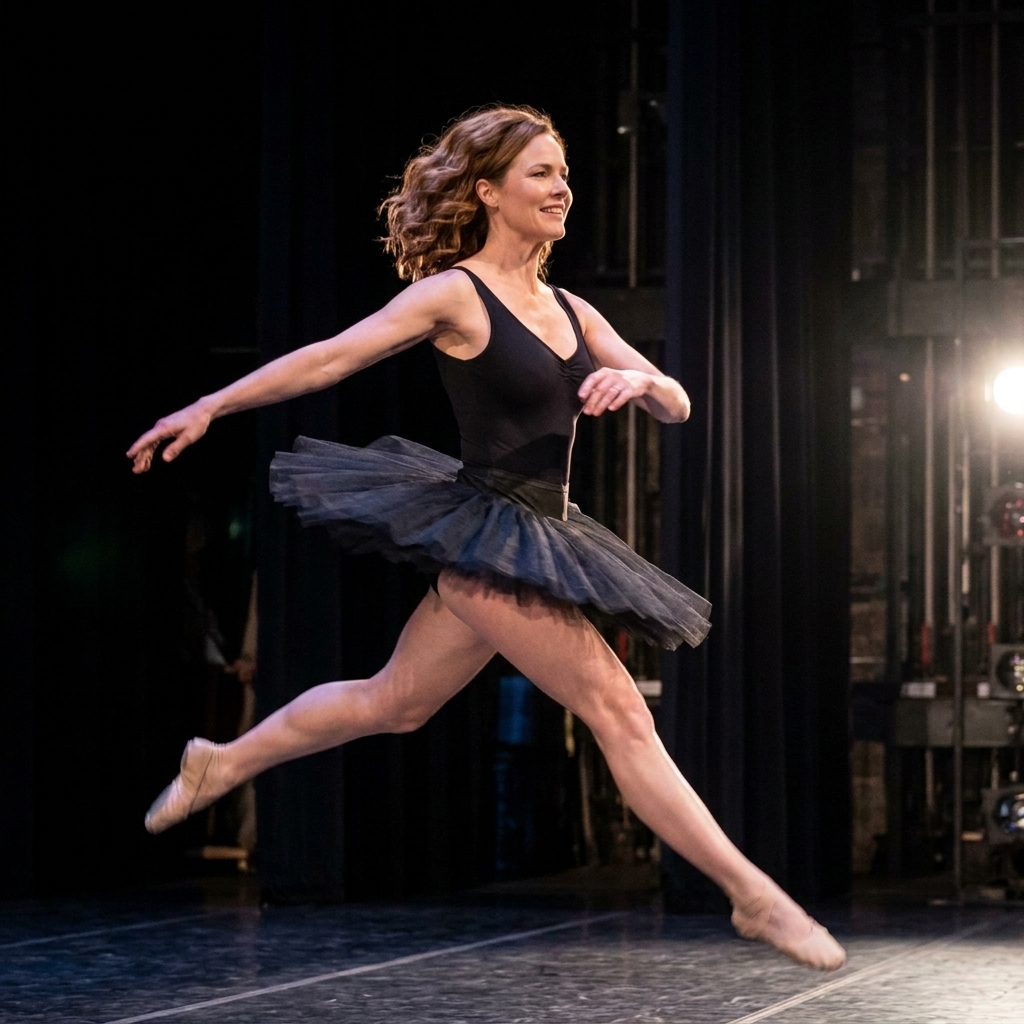
Core settings
In theatre and dance, your exposure is a negotiation between motion and mood. The lighting designer built contrast intentionally. You are trying to keep highlights from blowing out while still holding detail in faces, costumes, and hands.
One caveat that saves a lot of frustration: settings are context-dependent. Stage brightness, lens speed, and sensor size all change what “normal” looks like. Use these as starting points, not commandments.
Baseline settings
- Mode: Manual exposure is the most consistent. The lighting will change, but you stay in control.
- Shutter speed: 1/250 to 1/500 for dance and big movement. For quieter theatre blocking, 1/160 can work. If you want intentional motion blur, slow down deliberately and do it sparingly.
- Aperture: f/2.8 is a common sweet spot. If you have a fast prime, f/2 can be beautiful, but depth of field gets razor-thin on ensembles.
- ISO: Expect 3200 to 12800 depending on venue and your shutter target. Better grain than blur.
- Focus mode: Continuous AF with subject tracking if your camera handles it well. Otherwise, use a single AF point and place it carefully.
- Drive: Low or medium burst. A rapid-fire shutter through a soliloquy is not the goal.
Metering and exposure
Spotlights can fool your meter into underexposing faces, while bright costumes can trick you into clipping highlights. A few practical fixes:
- Protect highlights: Watch your histogram or highlight warnings if available. White costumes and shiny sets clip quickly.
- Use exposure compensation if you shoot with Auto ISO. Many cameras do well with manual shutter and aperture plus Auto ISO.
- Expect lighting cues: If you know a deep red wash is coming, pre-emptively adjust. Deep reds can read darker to the camera and meter than they do to your eyes.
White balance
Stage lighting is often colored on purpose. If you neutralize everything, you erase part of the design. I like to shoot RAW and use a reasonable in-camera white balance (Tungsten is a solid starting point) so my previews are close, then fine-tune later.
Try this mental rule: Correct for skin without flattening the scene. If the show is bathed in blue, let it be blue. Just keep performers from looking like they came from another planet unless that is, in fact, the plot.
Stabilization vs motion
IBIS and lens stabilization can help with camera shake, especially on longer lenses from the back of the house. It will not freeze a grand jeté. If your subject is blurry, you still need shutter speed.
Focusing on moving targets
Dance is a masterclass in unpredictability. Theatre, too, has moments where actors step out of light, spin, or fall into shadow for dramatic effect. Your camera’s autofocus is only as smart as your choices.
Focusing strategies
- Anticipate peaks: In dance, the top of a jump and the moment a turn resolves are often the sharpest, most readable points.
- Prioritize the eyes, then the face: If you miss eyes, at least land on the plane of the face.
- Use back-button focus if it helps you separate focusing from firing. This can reduce accidental focus hunts when lighting changes.
- Know when to go manual: In extreme haze, heavy backlight, or scrims, manual focus can be calmer than watching your lens breathe.
If your camera offers face and eye detection, test it in rehearsal. Some systems struggle with theatrical makeup, masks, and fast cross-lighting.
Disable attention-grabbing assists
Turn off AF-assist beams and any focus confirmation beeps. A little lamp that seems harmless in a living room can be glaring in a dark house.
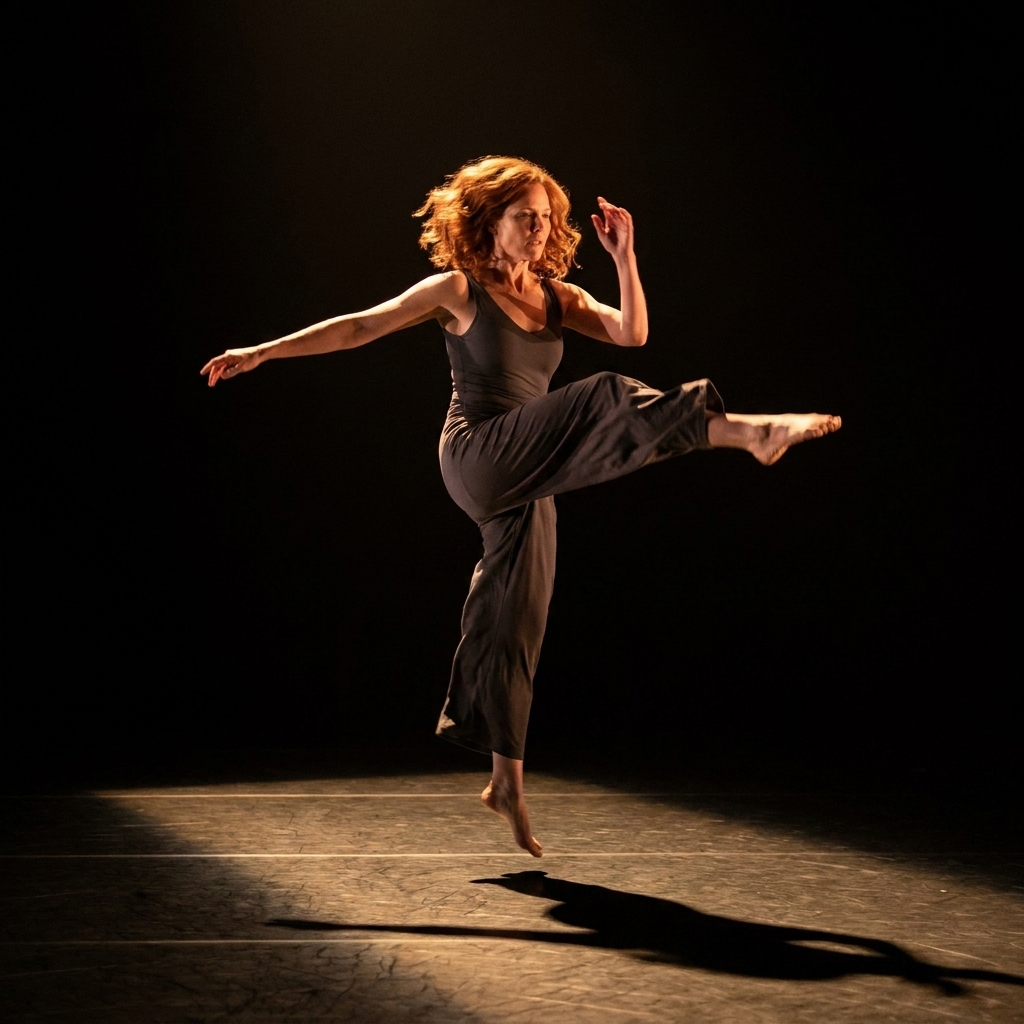
Composition
The most common beginner mistake is treating dance like sports and theatre like celebrity coverage. But stage pictures are built. Choreographers design lines, spacing, and counterpoint. Directors build tableaus. Your framing should honor that architecture.
What to look for
- Clear silhouettes: Hands and feet matter. Wait for moments when limbs separate cleanly from the torso.
- Stage pictures: Wide shots that show formation, set, and lighting are not “less exciting.” They are context.
- Emotional beats: The quiet inhale before a duet can be more powerful than the jump.
- Relationship and distance: In theatre, blocking is subtext. Who is close, who is isolated, who turns away.
Respect the design
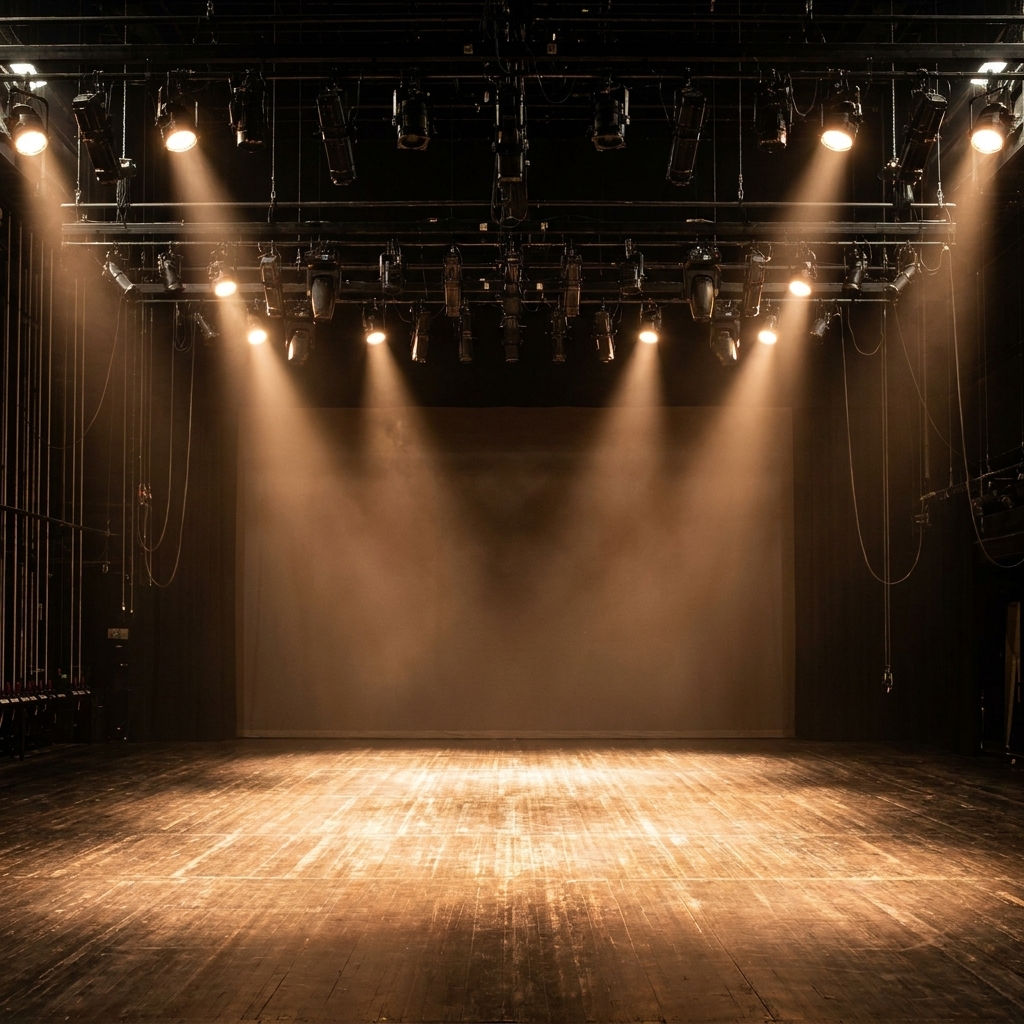
Try not to crop out lighting shapes, practicals, or scenic elements that are doing narrative work. If a pool of light is isolating a character, include the darkness around it. The negative space is part of the meaning.
Etiquette
Here is the unglamorous truth: the best theatre photographer is the one nobody notices. Your image should not cost someone else their experience.
Non-negotiables
- No flash unless the production explicitly authorizes it. In normal performances, treat flash as prohibited.
- Silence everything: Shutter sounds, focus confirmation beeps, and any device tones.
- Kill screen brightness: Dim your LCD and avoid checking images during quiet scenes.
- Do not block sightlines: Keep elbows in, gear tight, and avoid standing unless explicitly permitted.
- Do not move during scenes: If you must reposition, do it during applause, blackouts, or loud transitions.
Be mindful of performers
Dancers and actors can see you more than you think. A glowing screen at house right is basically a tiny second moon. Stay low, stay dark, and let their concentration remain intact.
Post-processing
Editing live performance photos is not about “fixing” lighting. It is about translating it. Your goal is to deliver images that feel like the night felt, while still being readable and publishable.
A stage-friendly workflow
- Start with exposure and highlights: Pull back clipped areas before lifting shadows too aggressively.
- Manage noise with restraint: Heavy noise reduction can smear costume detail and skin texture. A little grain can feel honest.
- Correct color selectively: If skin tones are wildly off, consider local adjustments rather than neutralizing the whole frame.
- Straighten and crop thoughtfully: Preserve scenic lines and choreography patterns when possible.
If you are delivering to a company, ask whether they prefer true-to-stage color or a slightly cleaner promotional look. Different organizations have different visual identities, and that is not a moral failing. It is branding.
Files and delivery
If you are shooting for yourself, RAW gives you the most flexibility with color and highlights. If you are delivering to a company, ask what they want: RAW files, high-resolution JPEGs, or both. Many marketing teams prefer JPEGs in sRGB for quick posting, while archival or print needs might call for TIFFs or carefully exported high-res JPEGs. Clarify naming, cropping preferences, and turnaround time before you shoot the first frame.
Usage and rights
Performance photography lives in a web of rights: the venue, the producer, the playwright or composer, the designers, and the performers may all have a stake in what can be photographed and how it can be used. Even when you create the image, you may not have permission to publish it commercially.
- Patron photos: If the house allows any photography, it is often limited to personal use and may prohibit posting full scenes, video, or monetization.
- Commissioned work: Your contract should spell out usage, credit, exclusivity, and where the images may appear (press, web, social, print, ads).
- When in doubt: Ask the producer or stage management, and get an answer in writing.
Quick setups
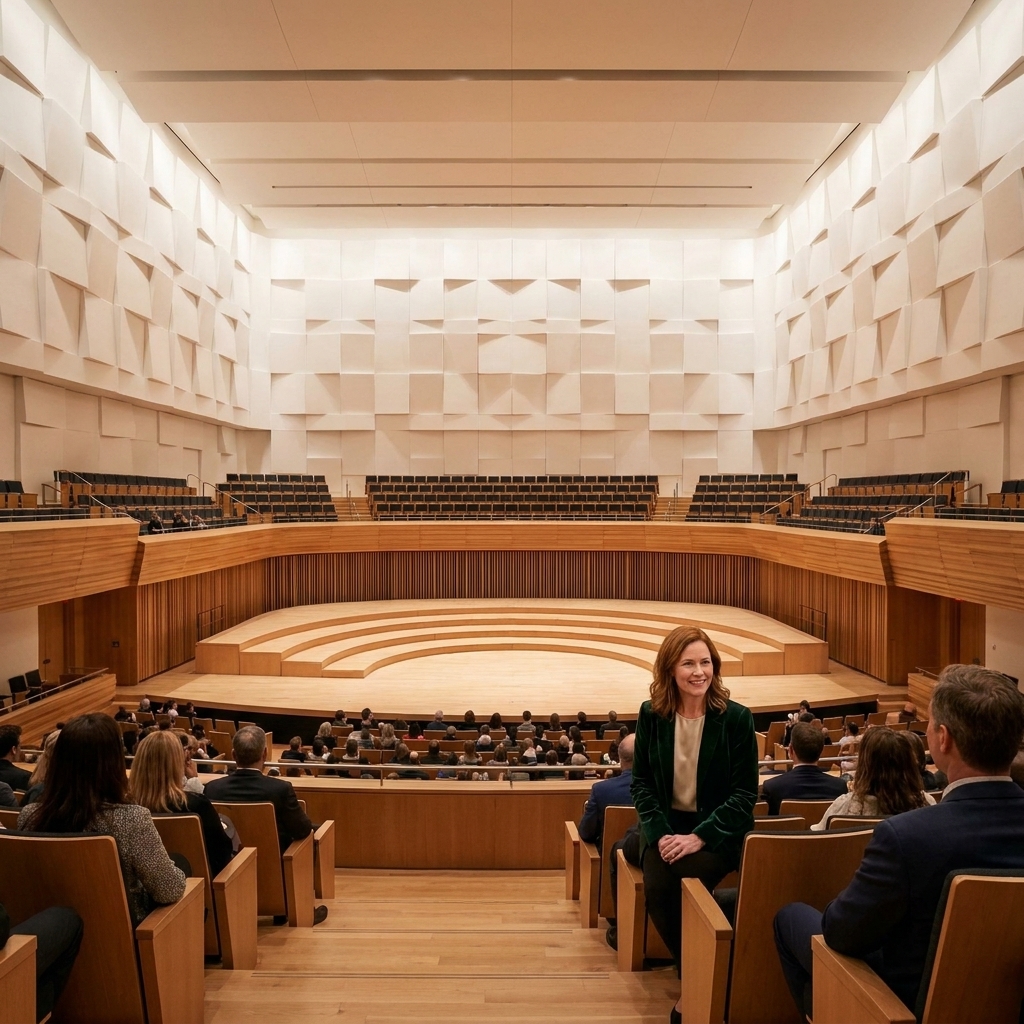
Balcony seat
- Lens: 70-200mm f/2.8
- Shutter: 1/250 (theatre) or 1/400 (dance)
- Aperture: f/2.8
- ISO: Auto ISO with a sensible max (try 12800)
- Tip: Look for big stage pictures and clean diagonals. From above, choreography reads like geometry.
Side aisle
- Lens: 85mm or 24-70mm if you have space
- Shutter: 1/160 to 1/250
- Aperture: f/2 to f/2.8
- ISO: 3200 to 10000 depending on cues
- Tip: Watch for profile light and catchlights. Do not let the focus drift to the set behind them.
Dress or rehearsal
- Lens: 24-70mm plus 70-200mm
- Shutter: 1/250 to 1/500 for dance
- Tip: Tell stage management where you will be, move only when cued, and never cross during a run unless invited.
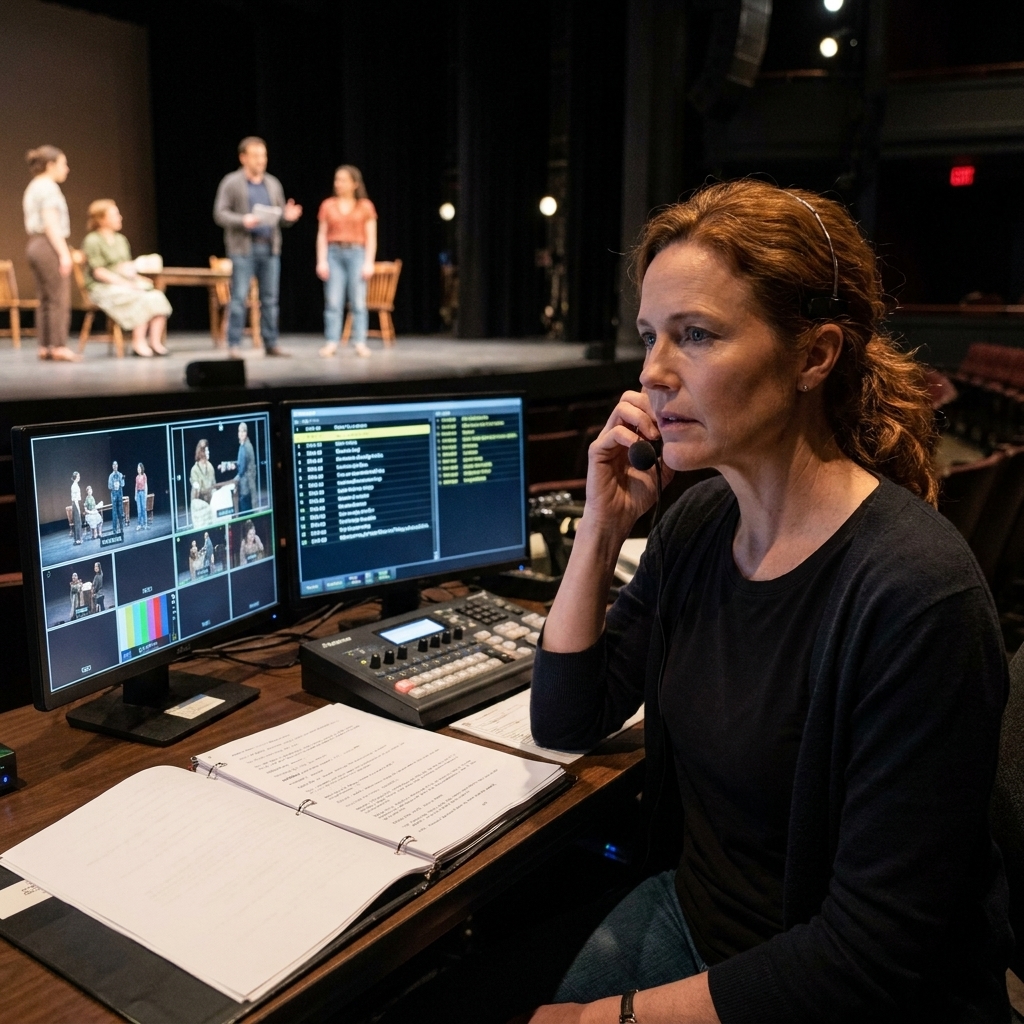
Troubleshooting
Everything is blurry
- Increase shutter speed first.
- Then raise ISO.
- If you are already wide open, consider a faster lens next time.
Faces are too dark
- Expose for faces, but watch highlights on costumes.
- Use a small amount of exposure lift in post instead of over-brightening in-camera.
Colors look intense
- Shoot RAW and refine white balance later.
- Reduce saturation selectively, especially in reds and magentas.
- Accept that some cues are meant to be intense.
Focus keeps hunting
- Switch to a single AF point and place it on a high-contrast edge (face, costume seam).
- Avoid focusing through scrims or heavy haze if possible.
- Try manual focus for a static mark in a repeated cue.
You see banding
- Turn on anti-flicker or flicker reduction if your camera has it.
- Try adjusting shutter speed slightly (for example, 1/200 instead of 1/250) and test during rehearsal.
- Some LED cues are simply harder. Get a clean wide shot when the light is stable, then chase moments during the rest.
Final note
I grew up backstage, which means I learned early that every beam of light and every moment of silence is somebody’s deliberate choice. Photographing live theatre and dance is thrilling precisely because it is not yours. It belongs to the artists and the audience in the room.
If you can leave with images that feel like breath, like velocity, like a story landing in real time, and if nobody around you had to sacrifice their night to get them, you have done it right. Curtain call, quietly.