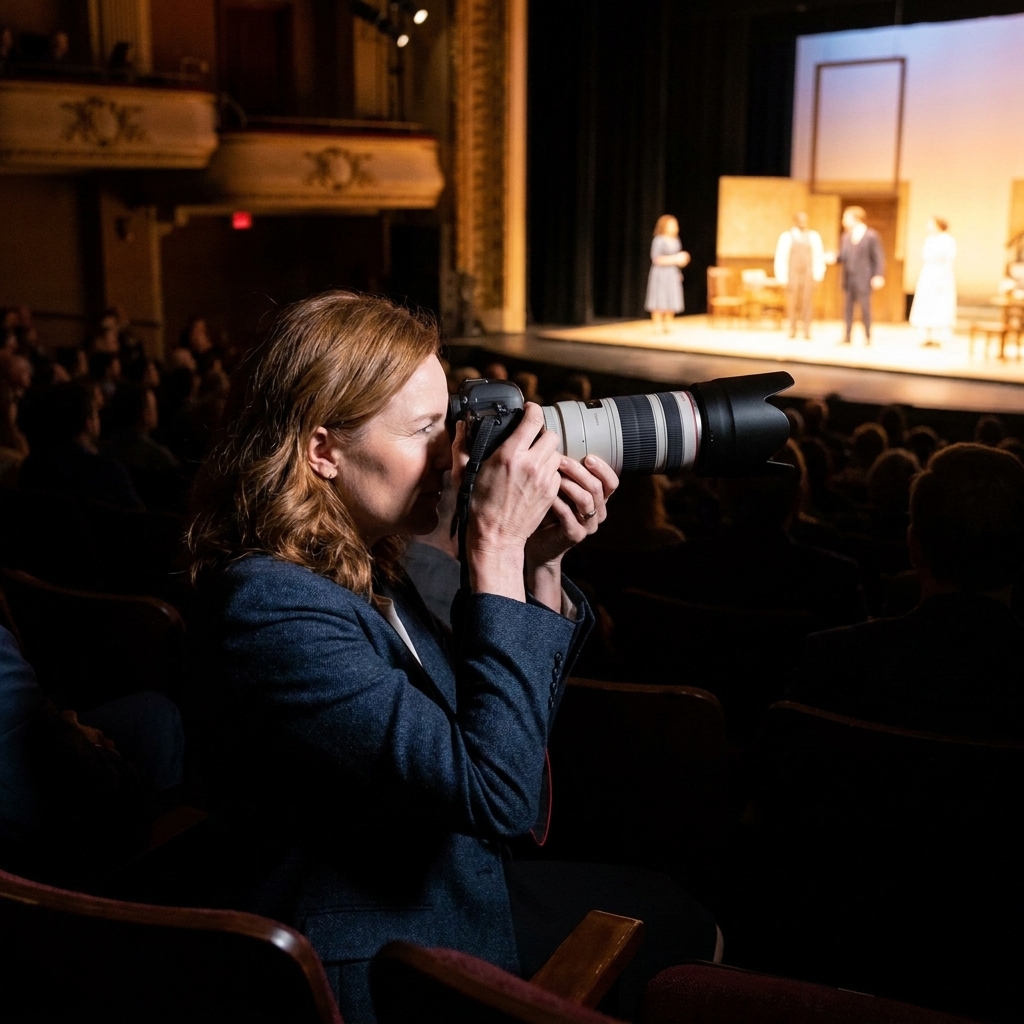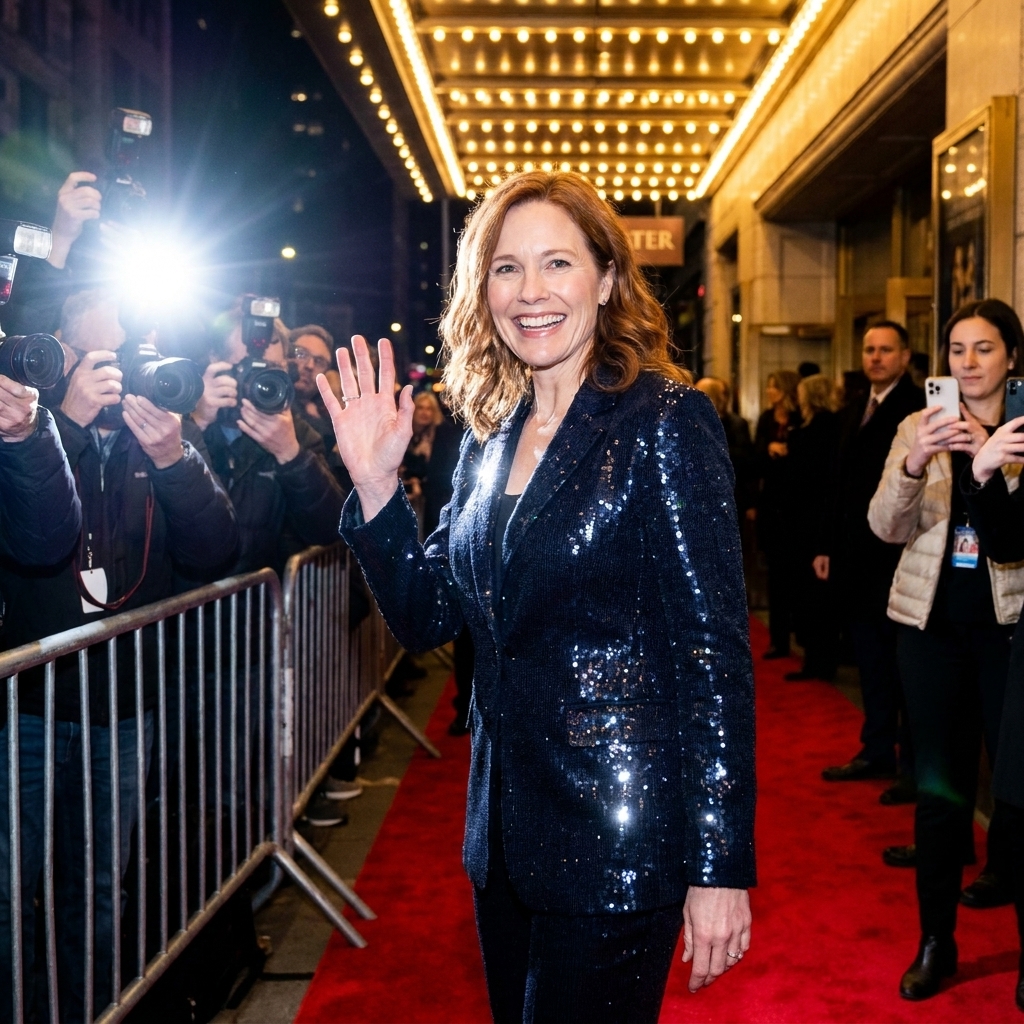
There is a special kind of quiet before a headshot session. It feels a little like the moment right before the curtain rises, when everyone is ready and nobody is quite sure what magic will show up. Your job, as the photographer, is to create the conditions for that magic to appear on cue.
Actor headshots and entertainment portfolios are not about vanity, and they are definitely not about turning someone into a stranger with heavy retouching. They are about clarity. Casting wants to know: Who is this person, what do they read as, and can I imagine them living in my story? If you can answer that in a single frame, you are already doing the work.
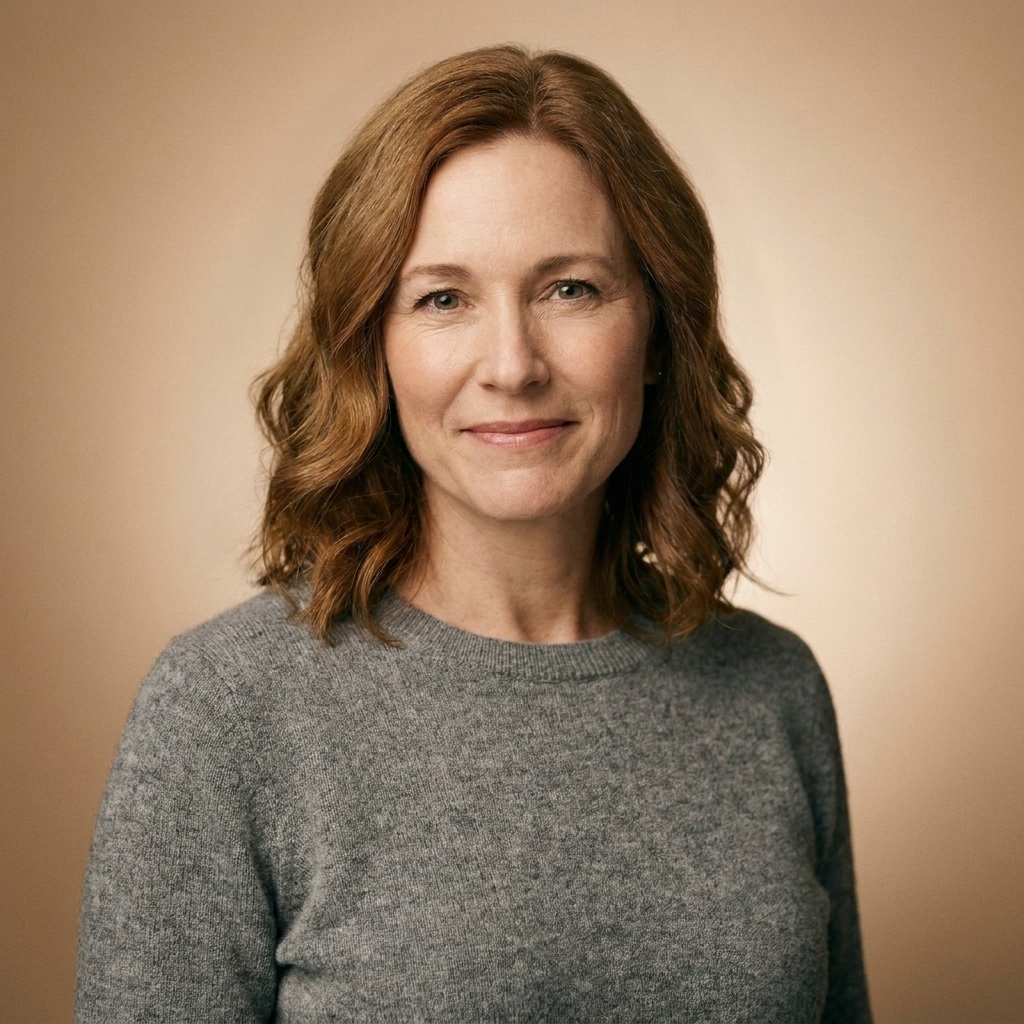
Headshots vs. portfolios
Before you touch a light stand, make sure you and the performer agree on the deliverable. A headshot session can drift into portfolio territory fast, and that is fine as long as it is intentional.
Actor headshots
- Purpose: Booking and submissions. These images are tools.
- Look: Clean, current, natural. The performer should look like themselves on their best day.
- Variety: Typically 2 to 5 final selects that cover their primary casting lanes.
- Wardrobe and styling: Simple and flattering. No loud patterns, no distracting accessories.
Entertainment portfolios
- Purpose: Branding, press kits, social, festival submissions, creative teams, and showcasing range.
- Look: More cinematic, editorial, or character-forward.
- Variety: Wider, often including full-body, environmental portraits, and moodier lighting.
- Wardrobe and styling: More room for statement pieces, as long as they remain readable and intentional.
Pre-session chat
Headshot sessions succeed when the performer feels safe, seen, and guided. The quickest way there is a short intake chat that treats them like a collaborator, not a mannequin.
Ask these questions
- Where are you submitting most right now? Theater, on-camera, commercial, student films, voice work. Each has its own expectations.
- What roles are you actually booking or being called in for? That is the lane to cover first.
- What do you never want to be mistaken for? This clarifies what to avoid in wardrobe and vibe.
- Any non-negotiables? A scar they want visible, a hairstyle they must keep, a reason they cannot do heavy makeup, etc.
- What is your timeline? If they need images in 48 hours, your workflow and edit scope must match reality.
Pro tip: Have them send three current headshots they like and three they hate. Not for copying, just to decode taste. You will learn more from the “hate” list than the “love” list.
Directing talent
Performers are used to direction, but “look more natural” is the photographic version of “be funnier.” Give playable notes. Make it specific, physical, and emotional.
Hands, shoulders, chin
- Shoulders: Ask for a slow exhale and a micro-drop of the shoulders. Tension reads instantly.
- Chin: “Forehead forward, chin down a hair” keeps jawlines clean without looking posed.
- Hands: For tighter headshots, keep hands out unless you have a clear reason. For portfolio frames, give hands an action: adjusting a jacket cuff, resting on a chair back, holding a coffee cup in an environmental shot.
Direction that works
- “Give me calm confidence, like you already belong in the room.”
- “Think generous listener. You are reacting to someone you like.”
- “Now raise the stakes one notch. Same person, more urgency.”
- “Let the smile live in the eyes first, then the mouth follows.”
The best headshots look like a still from a scene that has not been written yet.
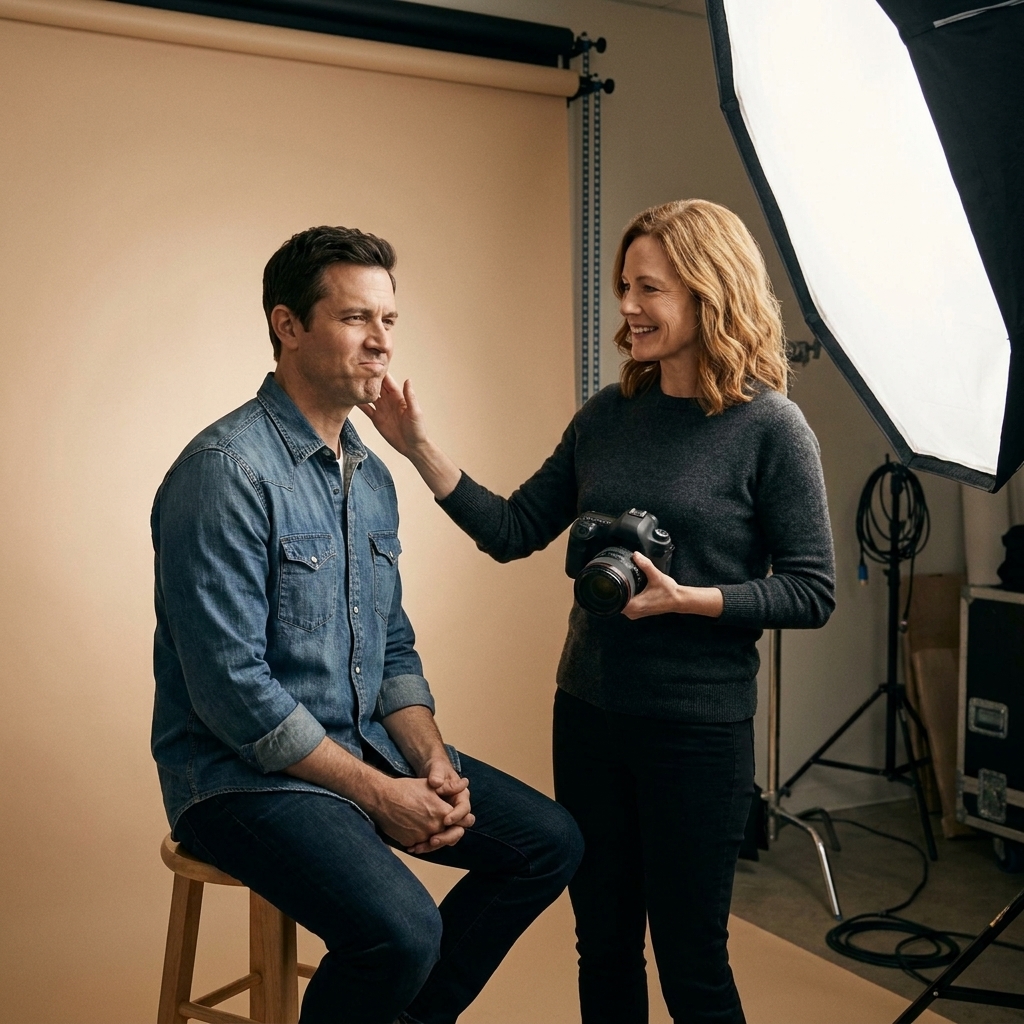
Lighting setups
Lighting for headshots is a balancing act: you want shape and depth, but you cannot bury the eyes or carve the face into something harsher than life. Start simple. Master one setup. Then add variations like you are changing moods between scenes.
Setup 1: single soft key
What you need: One softbox or umbrella, one reflector (or a white foam board), and a neutral backdrop.
- Place the key light about 45 degrees to one side of the camera and slightly above eye level.
- Feather the light across the face. You want soft highlights, not a bright hotspot on the forehead.
- Add a reflector opposite the key light to lift shadows gently.
Why it works: It is flattering on most faces, fast to adjust, and gives that clean, bookable look.
Setup 2: key + subtle rim
What you need: Add a small light behind the subject aimed at the back of the head and shoulders, or use a practical window edge light.
- Keep the rim light low power. It should whisper, not shout.
- Watch for spill on the cheek. Rim light should outline, not bleach.
Why it works: Great for darker hair, darker wardrobe, or darker backdrops where the subject might blend in.
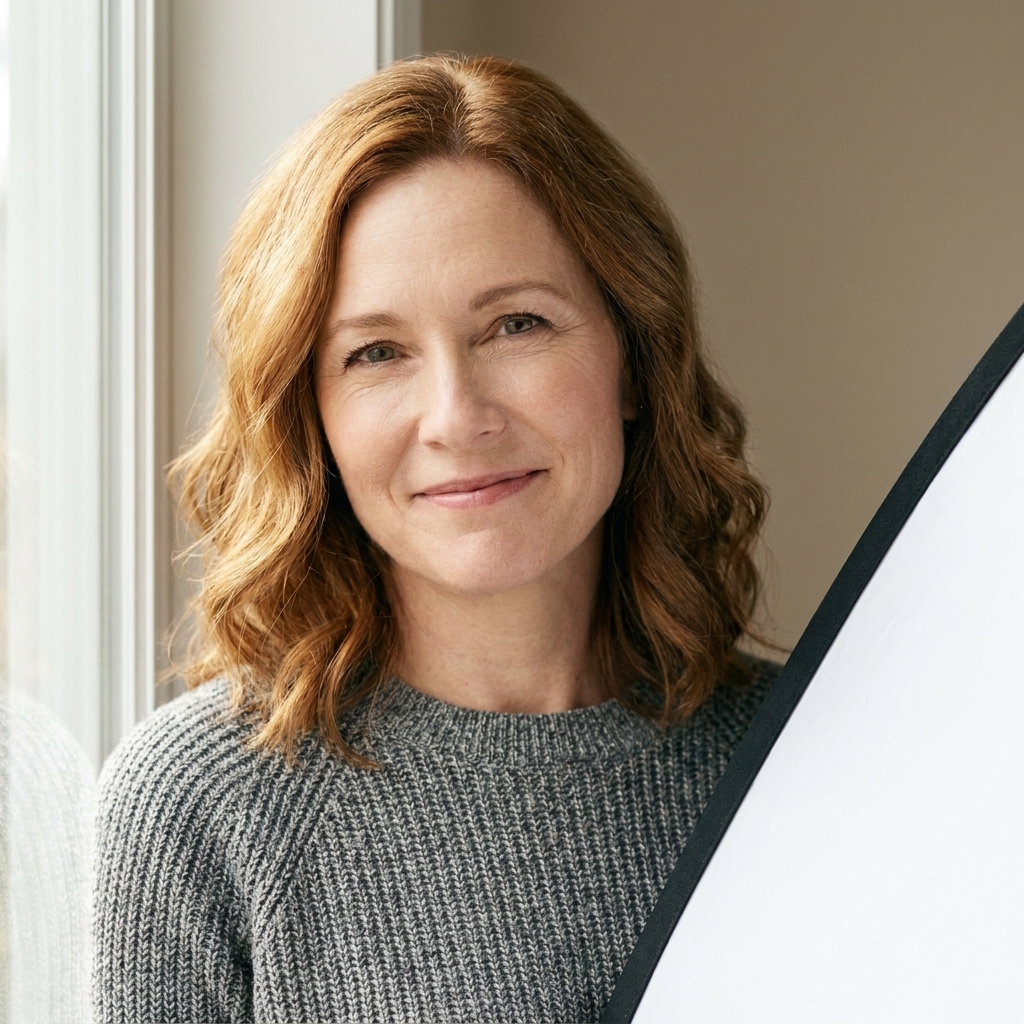
Setup 3: window light
- Use a large window as your key light.
- Turn the performer so the window is 45 degrees to their face.
- Use a sheer curtain to diffuse harsh sunlight.
- Add a reflector on the shadow side.
Why it works: It looks natural and expensive, and performers relax faster in real light.
Camera choices
You can shoot excellent headshots on a modest setup. What matters is consistency, focus accuracy, and flattering perspective.
Lenses and focal lengths
- Full frame: 85mm is the sweet spot for classic headshots. 50mm can work if you step back and avoid distortion.
- APS-C: Aim for about 50mm to 56mm.
- Avoid: Very wide lenses up close. They exaggerate noses and foreheads and create an unkind “phone camera” vibe.
Settings to start with
- Aperture: f/3.2 to f/5.6 for headshots. You want both eyes sharp, even if they turn slightly.
- Shutter: 1/160 or faster for subtle movement.
- ISO: Keep as low as your light allows, but do not fear ISO if it keeps skin tones clean and focus accurate.
- White balance: Set it intentionally. Auto can drift across wardrobe changes and skin tones.
Focus and framing
- Focus on the nearest eye.
- Leave a little breathing room above the head. Tight is fine, cramped is not.
- Keep horizons and backdrops straight. Casting should never be distracted by a crooked seam.
Backdrops and wardrobe
Here is the secret casting truth: if your image makes someone work to understand what they are seeing, they will move on. Simplicity is generosity.
Backdrop basics
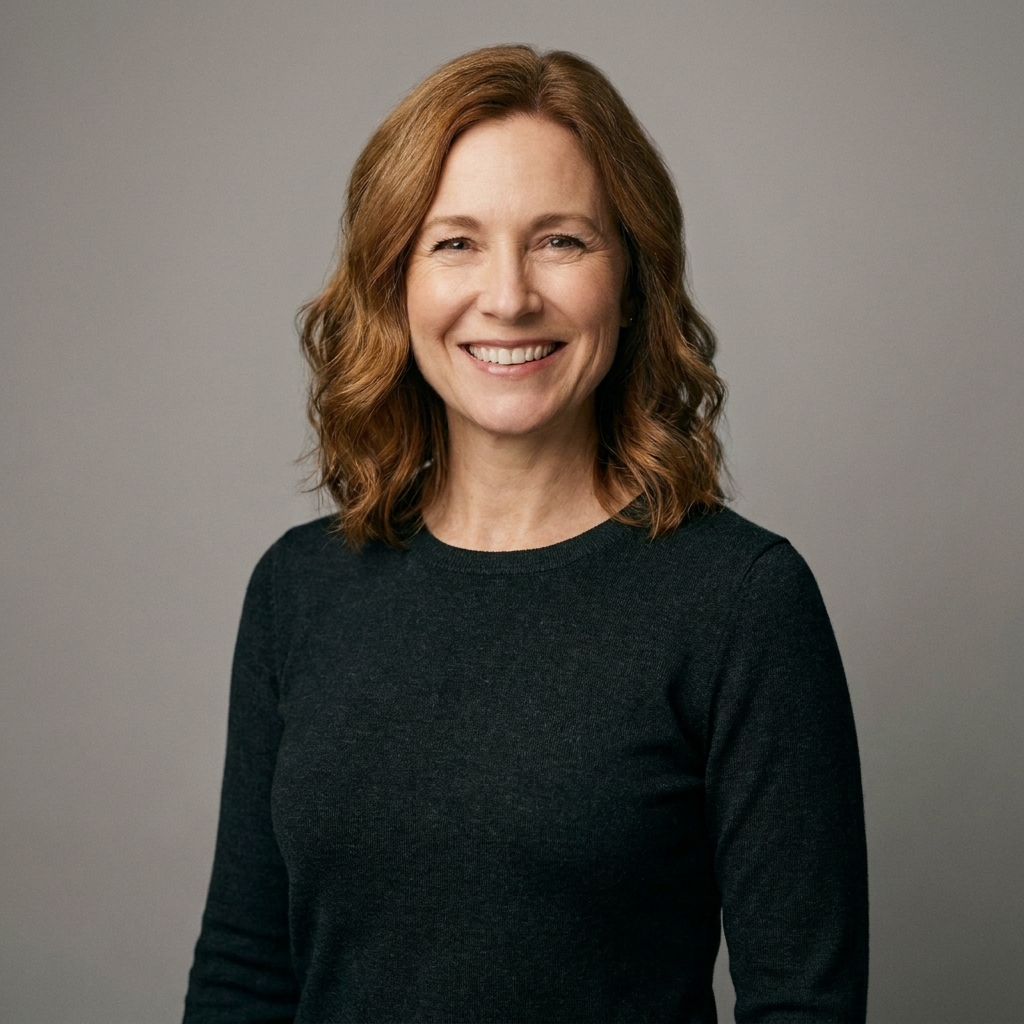
- Mid-gray: A reliable neutral that flatters most skin tones and does not scream “school photo.”
- Warm off-white: Clean and modern, but watch for spill and blown highlights.
- Textured neutral: Great for portfolios if it stays subtle and does not compete with the face.
Wardrobe guidance
- Solid colors and gentle textures photograph beautifully.
- Avoid tiny stripes, tight checks, and loud logos. Moiré is a menace.
- Necklines matter. A crew neck reads different than a v-neck, and both can change perceived age and vibe.
- Layering adds dimension, but keep it believable. The actor should look like they walked in, not like they are in costume.
Shot list
Range is not ten wildly different characters. Range is the same person, truthfully shifting gear. Think of it like an actor’s reel: you want variety, but you also want coherence.
A simple headshot list
- Look 1: “You, but elevated.” The most natural, most bookable image.
- Look 2: Brighter energy. Friendly, open, commercial-leaning.
- Look 3: More serious. Dramatic, grounded, higher stakes.
- Optional Look 4: A specific lane like comedy, period-friendly, or edgy indie, if it matches their real casting life.
Portfolio add-ons
- One environmental portrait that hints at story without becoming a full narrative.
- One full-body frame with clean lines and good posture.
- One “press-ready” image with a slightly more editorial lighting choice.
Editing
If you grew up staring at movie posters like I did, it is tempting to chase that glossy perfection. Resist. Actors need to look like themselves under real lights, on real sets, in real audition rooms.
What to fix, gently
- Temporary blemishes, minor under-eye darkness, flyaway hairs that distract.
- Redness and uneven skin tone, especially around the nose and cheeks.
- Lint, stray threads, minor background marks.
What to leave alone
- Freckles, moles, scars, smile lines. These are identity markers.
- Teeth shape, jawline structure, eye size. Do not reshape a human being.
- Skin texture. Skin should look like skin, even in flattering light.
A repeatable workflow
- Cull: Choose images for authenticity first, then technical perfection.
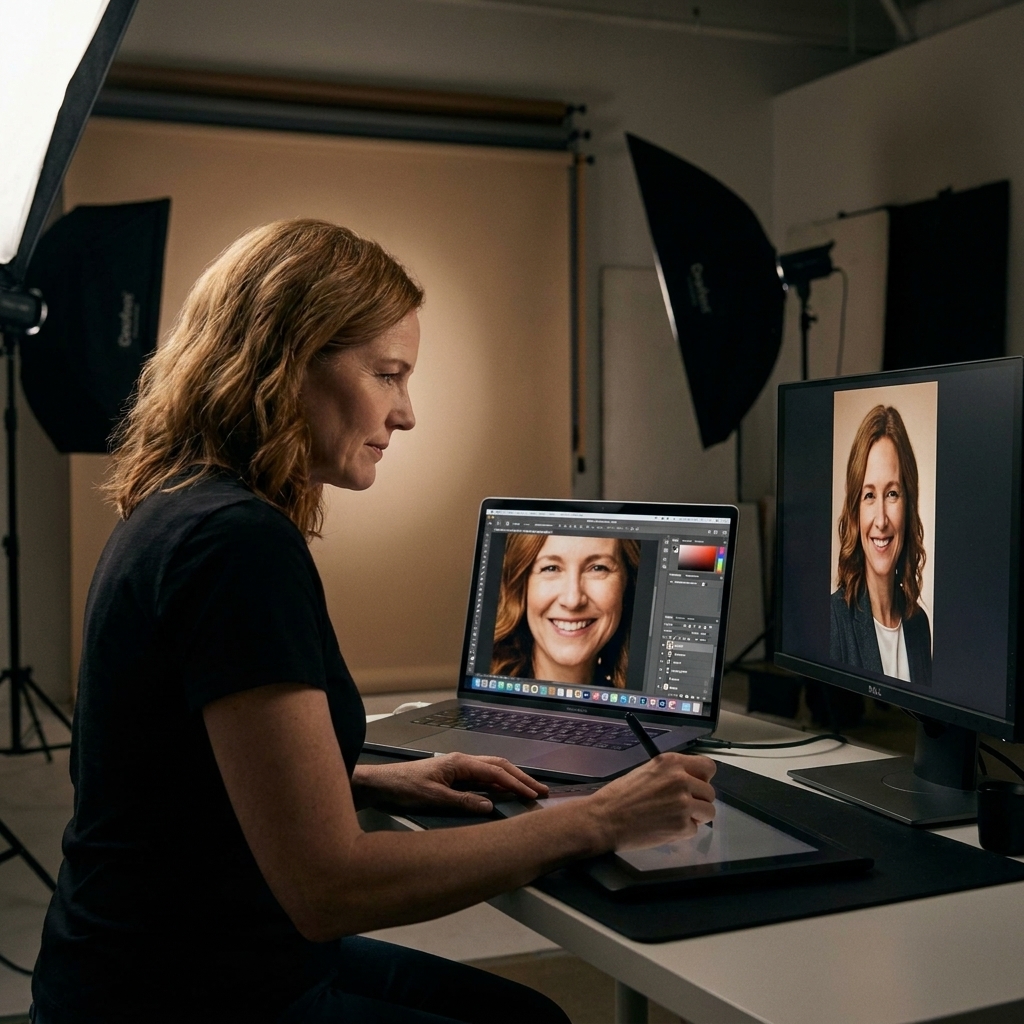
- Global adjustments: Exposure, contrast, white balance, and color consistency across the set.
- Retouch: Light touch with healing and dodge and burn for natural dimension.
- Sharpen: Subtle, and only after resizing for output.
- Export: High-res for print, web-optimized for submissions.
Color note: Keep skin tones believable. Over-warming can turn everyone into a bronzed souvenir. Over-desaturating can make skin look tired. Aim for healthy and real.
Deliverables
The most beautiful headshot in the world is useless if the actor cannot upload it, print it, or label it correctly. Make delivery painless.
What to provide
- Two sizes: A high-resolution file for print and an optimized file for web submissions.
- Consistent cropping: Provide a standard headshot crop and any alternate crops you recommend.
- Clean naming: Use something like FirstLast_Headshot1.jpg. Simple, searchable, respectful.
How many finals?
For beginners shooting actor headshots, a strong target is 3 to 5 finished images. More than that can overwhelm a performer who is trying to choose. Less than that can feel limiting if they have multiple casting lanes.
Common mistakes
“The lighting is pretty, but the eyes feel dead.”
Raise the fill slightly, or move the key light closer to camera axis. Watch for catchlights. If you cannot see a clean catchlight, the audience will not feel the spark.
“The background looks messy.”
Increase subject to background distance, widen your aperture a touch, and simplify. A clean frame reads professional even when the gear is modest.
“They look tense.”
Stop shooting for 30 seconds. Have them shake out hands, roll shoulders, and reset. Give them a playable objective, not a facial instruction.
“My edits look plastic.”
Pull back on smoothing. Switch to dodge and burn for under-eye work and shadow shaping. Texture is part of the truth.
Shoot day checklist
- Batteries charged, cards formatted, lens cleaned.
- Backdrop steamed or rolled smooth.
- Key light set, reflector ready, white balance chosen.
- Shot list printed or on your phone.
- Mirror, lint roller, blotting sheets on hand.
- Music that keeps the room relaxed, not chaotic.
- Clear time cues so the performer is not guessing how the session is going.
FAQ
Do actor headshots have to be in a studio?
No. Many terrific headshots are shot outdoors or near windows. The key is controlled, flattering light and a background that supports the face instead of competing with it.
Should headshots be heavily retouched?
They should be clean, not transformed. Casting wants to meet the person in the photo. Temporary blemishes can go, identity markers should stay.
How do I help a performer who says they are “not photogenic”?
Give structure. Offer clear direction, show a few strong frames early, and keep the room calm. Most “not photogenic” fears are really “not guided” fears.
What is the single most important thing to get right?
Expression. You can fix minor flyaways and exposure. You cannot fake presence. Build comfort, then shoot for that moment when the eyes start telling the story.