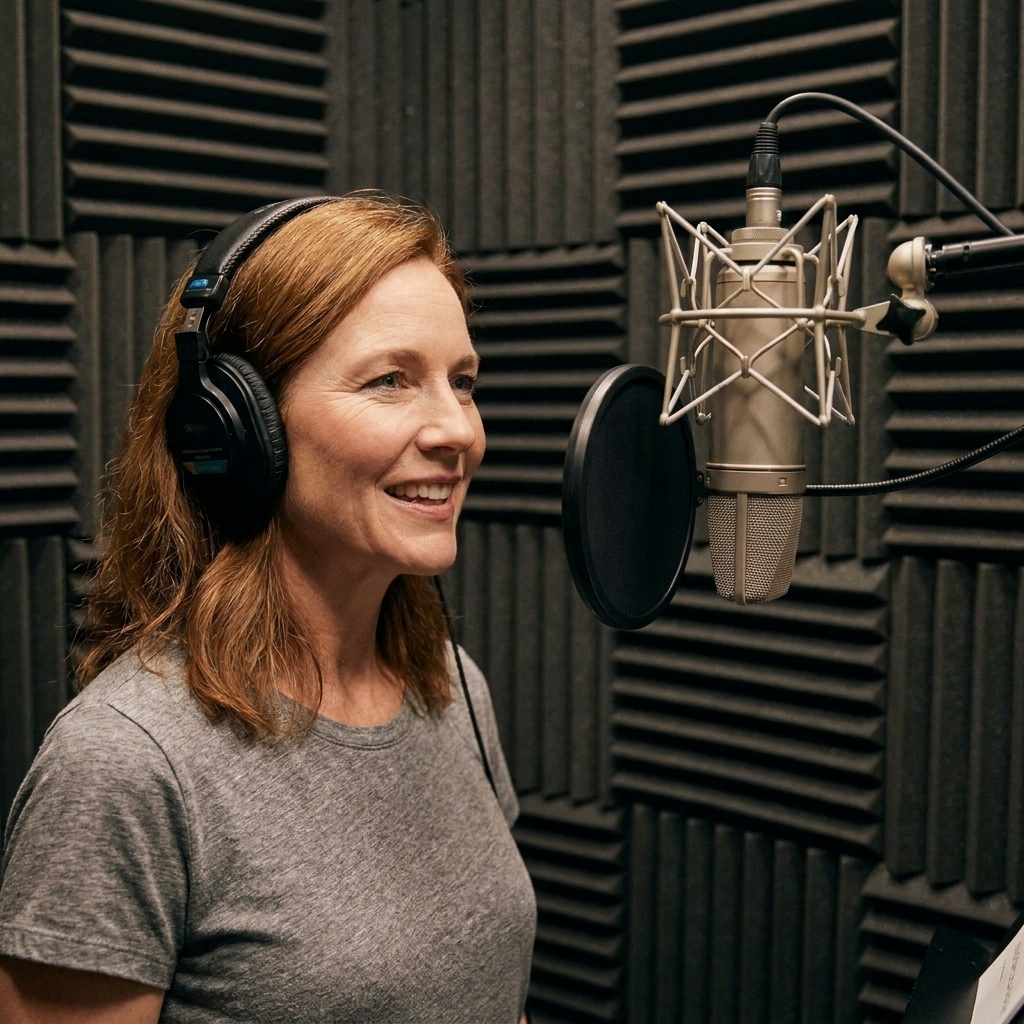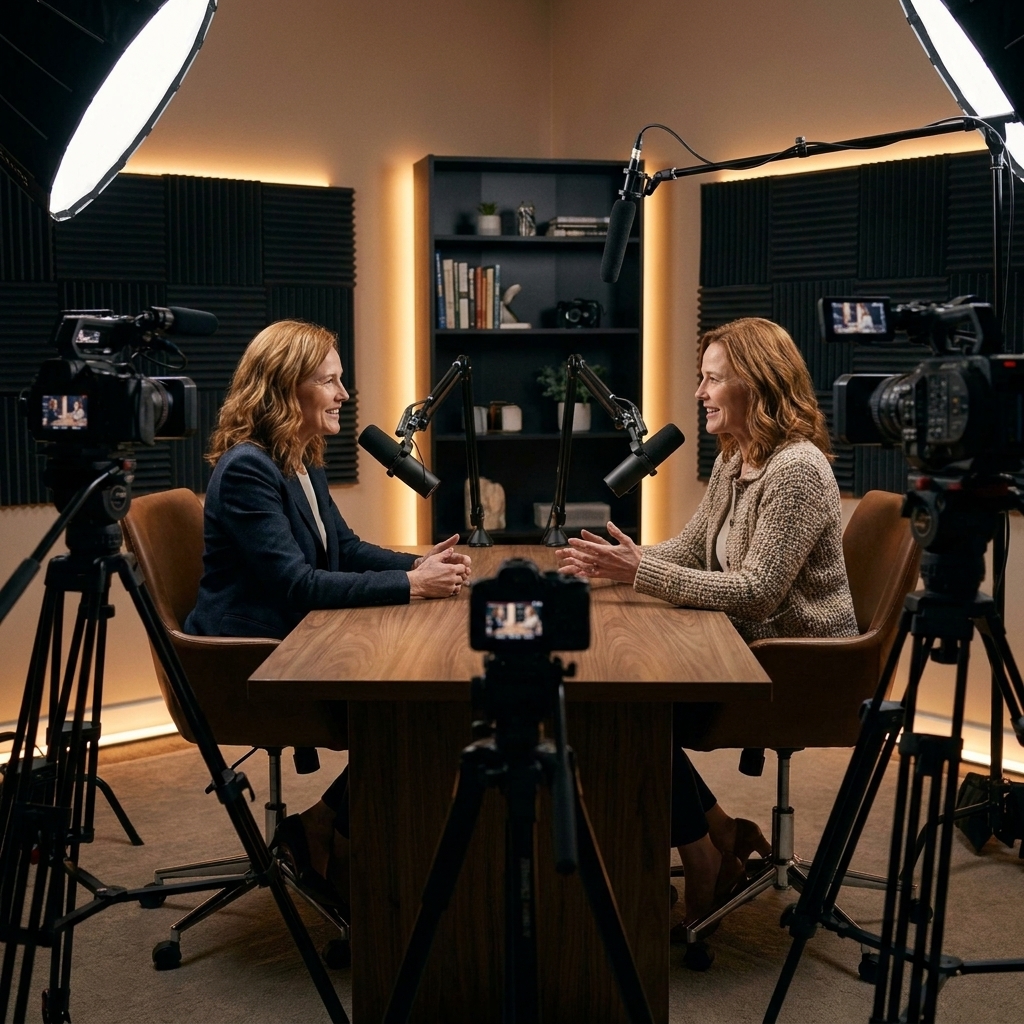
There is a particular kind of hush right before a live mic opens. The room is still the same room, but suddenly every breath, every paper shuffle, every tiny click of a pen becomes part of the story. For indie radio hosts, podcasters, and voice actors , the microphone is not just gear. It is the camera lens of your voice.
This guide is built for creators who want broadcast-quality sound without the gatekeeping. We will talk about what actually matters in a mic, which models consistently deliver, and the supporting cast of accessories that keep your audio clean when the show goes live.
Before you buy
- Room reality: If you hear echo, traffic, or HVAC in the room, prioritize a dynamic mic and close placement.
- Your workflow: If you need simple and portable, USB is a gift. If you want upgrades and multiple mics, XLR is the long game.
- Interface gain: Some broadcast dynamics want a lot of clean gain, often around 60 dB+ of usable, low-noise gain depending on your voice and distance.
- Placement wins: The best mic in the world cannot outmuscle bad distance and a reflective wall.
How to choose a mic
Dynamic vs condenser
- Dynamic microphones are the indie radio MVP. They reject room noise well, handle loud voices without flinching, and flatter imperfect spaces. If your “studio” shares a wall with a dishwasher, start here.
- Condenser microphones are detailed and sensitive. They capture more air and nuance, which can be gorgeous for voiceover and controlled rooms. They also capture more of everything else, including traffic and laptop fans.
Phantom power basics
Most condensers need phantom power (48V). Most passive dynamics do not. There are exceptions, like active dynamics and certain specialty mics, so check your model. If you are unsure, confirm before you hit the 48V button.
Polar pattern
Most voice mics you will see recommended are cardioid, meaning they hear what is in front of them and reduce what is behind. That is exactly what you want for a single host at a desk. Multi-person setups are possible, but you will generally get better results with one mic per voice.
Sharing one cardioid mic is tricky because levels swing when people lean in and out, and the mic ends up hearing more room than voice. One mic per person keeps your mix steady and your editing sane.
USB vs XLR
- USB mics are simple. Plug in, select in your software, go live. Great for travel kits and beginners, and some sound surprisingly polished.
- XLR mics require an audio interface or mixer, but reward you with flexibility: cleaner gain, better monitoring, and easier upgrades over time.
Gain and noise
Some broadcast-famous dynamics have low output. They often need a strong preamp, and if your interface does not have enough clean gain, you may end up turning everything up and hearing hiss. The fix is either a higher-gain interface or an inline preamp booster.
Top mic picks
Below are microphones that have earned their reputations in real rooms, on real schedules, with real deadlines. I am focusing on how they behave in typical indie setups: bedrooms, shared offices, DIY booths, and small community stations.
Shure SM7B (XLR)
Best for: classic “radio voice” warmth, shouty hosts, untreated rooms, on-air durability.
The SM7B is the headliner for a reason. It smooths harshness, forgives imperfect acoustics, and feels like it was designed for the human voice on an intimate monologue. The tradeoff is gain: pair it with an interface known for strong, clean preamps or plan on an inline booster.
- Why broadcasters love it: controlled low end, friendly presence, excellent off-axis rejection.
- Watch for: needs a lot of clean gain, so budget for the rest of the chain.
Electro-Voice RE20 (XLR)
Best for: consistent tone even if you move, live radio, interviews, long-form hosting.
If the SM7B is velvet, the RE20 is a steady handshake. Its party trick is a design that greatly reduces proximity effect, so your voice changes less when you lean in. It is still a mic with physics, not magic, but it is forgiving in the way live hosting demands.
- Why it shines: natural speech clarity, less bass swing with distance changes.
- Watch for: it is large and wants a sturdy boom arm.
Rode Procaster (XLR)
Best for: broadcast-style presence on a tighter budget, close-mic technique, home studios.
The Procaster aims directly at the “talk radio” zone: focused mids, articulate top, and solid rejection. Like other broadcast dynamics, it can be gain-hungry, but when paired correctly it punches above its price.
- Why it is a value pick: strong voice-forward tone, good background control.
- Watch for: you still need good gain and good mic placement.
Shure MV7 (USB/XLR)
Best for: hybrid setups, streaming, travel, beginners who still want an upgrade path.
The MV7 is a practical bridge between plug-and-play and “real” broadcast chains. Use USB when you need speed, switch to XLR when you are ready to add an interface. It stays controlled in messy rooms and rewards decent mic technique.
- Why it is so popular: flexible connections, easy setup, reliably clean voice tone.
- Watch for: USB convenience can tempt you to skip proper mic technique. Do not.
Samson Q2U (USB/XLR)
Best for: true entry-level podcasting, travel kits, first mic that will not punish your room.
The Q2U is a no-drama dynamic that keeps beginners out of the weeds. It is not trying to sound expensive. It is trying to sound usable every day, which is often the more important promise.
- Why it is a smart starter: dynamic rejection, USB simplicity, XLR upgrade path.
- Watch for: you still want a stand or arm that does not transmit desk thumps.
Audio-Technica ATR2100x-USB (USB/XLR)
Best for: beginners who want clean speech, remote interviews, and flexible setup options.
Another classic starter that behaves like a grown-up: clear speech tone, forgiving in normal rooms, and easy to move between laptop recording and an interface later.
- Why it works: dependable vocal clarity, hybrid connectivity, friendly learning curve.
- Watch for: room sound still matters, so get the mic close.
Audio-Technica AT2020 (XLR)
Best for: voiceover in treated spaces, crisp articulation, budget studio builds.
The AT2020 is a long-running condenser favorite for a reason: it is affordable, clear, and honest. That honesty is a double-edged sword. In a reflective room it will tell on you. In a treated corner or a booth, it gives you a bright, present voice that cuts through music beds and sound design.
- Why it works: detailed top end, good value for VO and narration.
- Watch for: room noise and reflections become part of your “sound.”
Rode NT1 (XLR)
Best for: ultra-clean voiceover, gentle singers, high-detail narration.
If you want the kind of intimate clarity where you can hear the smile in a sentence, the NT1 is a staple. It is known for very low self-noise, which is wonderful for quiet narration. Pair it with a calm room and a solid pop filter and it can sound downright cinematic.
- Why voice actors keep it around: clean capture, flattering detail when the room behaves.
- Watch for: it will capture your space, so treat the space.
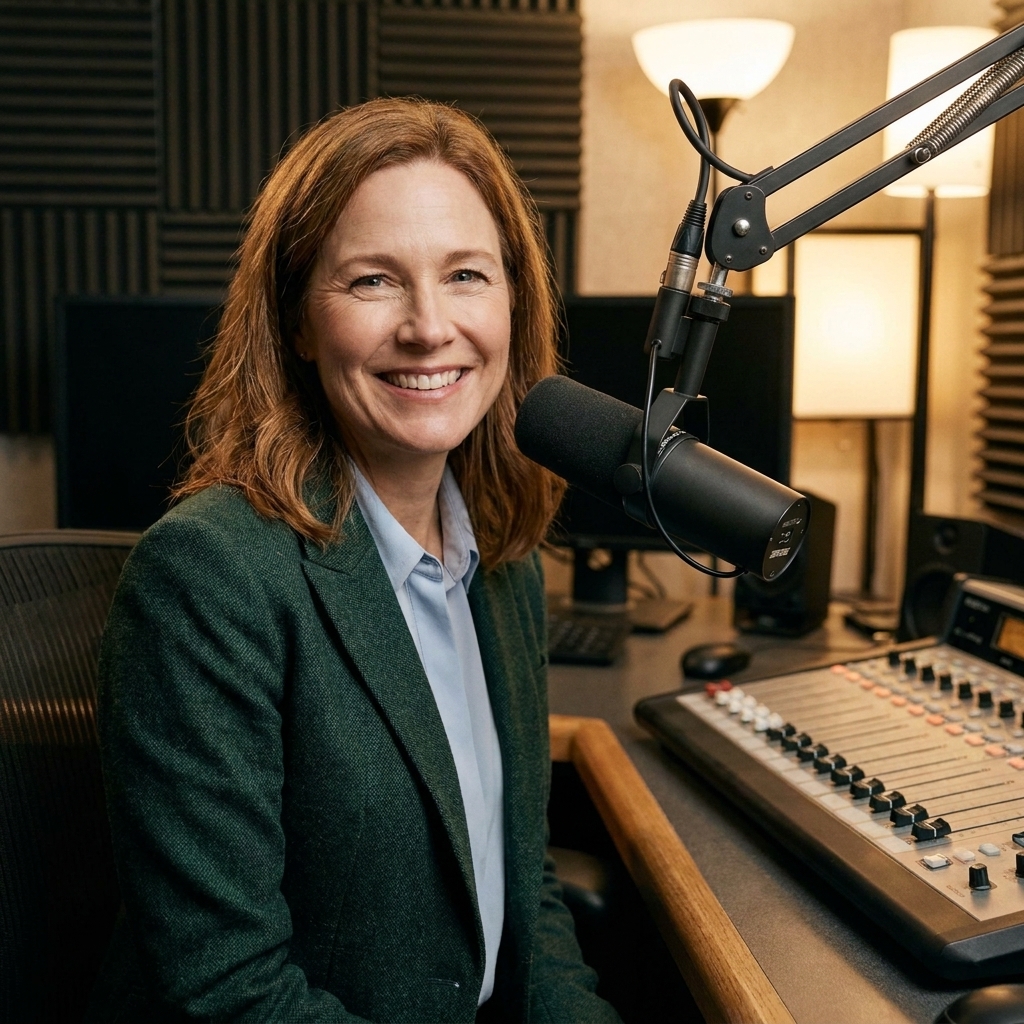
What to buy with it
A mic alone is like an actor without a stage manager. You can still do the show, but you will spend the entire night putting out fires.
Audio interface (for XLR)
Look for clean gain, low-noise preamps, and direct monitoring. Two inputs is enough for most solo hosts plus a guest mic. If you plan to do remote interviews with multiple local mics, consider four inputs.
Inline booster (optional)
If you pick a gain-hungry dynamic mic, an inline booster can add clean level so your interface does not have to work at the edge of its noise floor. Most popular boosters require phantom power from the interface and typically do not pass it through to the mic. Still, read the manual, because not every model behaves the same.
Boom arm or stand
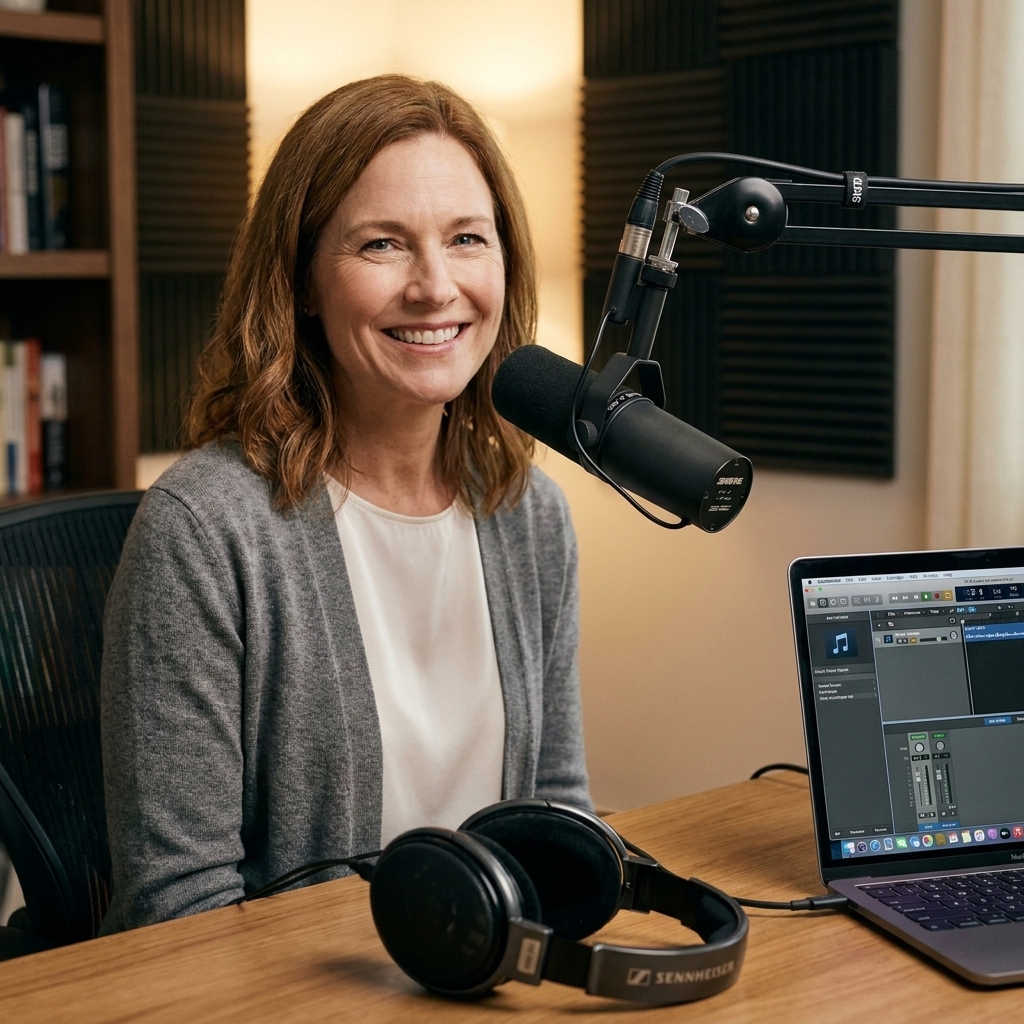
A stable boom arm lets you place the mic close without crowding your desk. Close placement is the secret to that “in the room with you” sound and it lets you turn your gain down, which lowers background noise.
Shock mount and isolation
If your desk transmits keyboard thumps, tapping, or the gentle earthquake of a coffee mug, a shock mount helps. Even a simple isolation pad under a desktop stand can save a take.
Pop filter or windscreen
Plosives are the villains of otherwise gorgeous takes. A pop filter helps with P and B blasts, especially on condensers. Many broadcast dynamics include good windscreens, but extra protection still helps if your voice is especially percussive or you like to work close.
Closed-back headphones
Closed-back monitoring prevents bleed into the mic and helps you hear mouth noise, clipping, or room rumble before you hit publish.
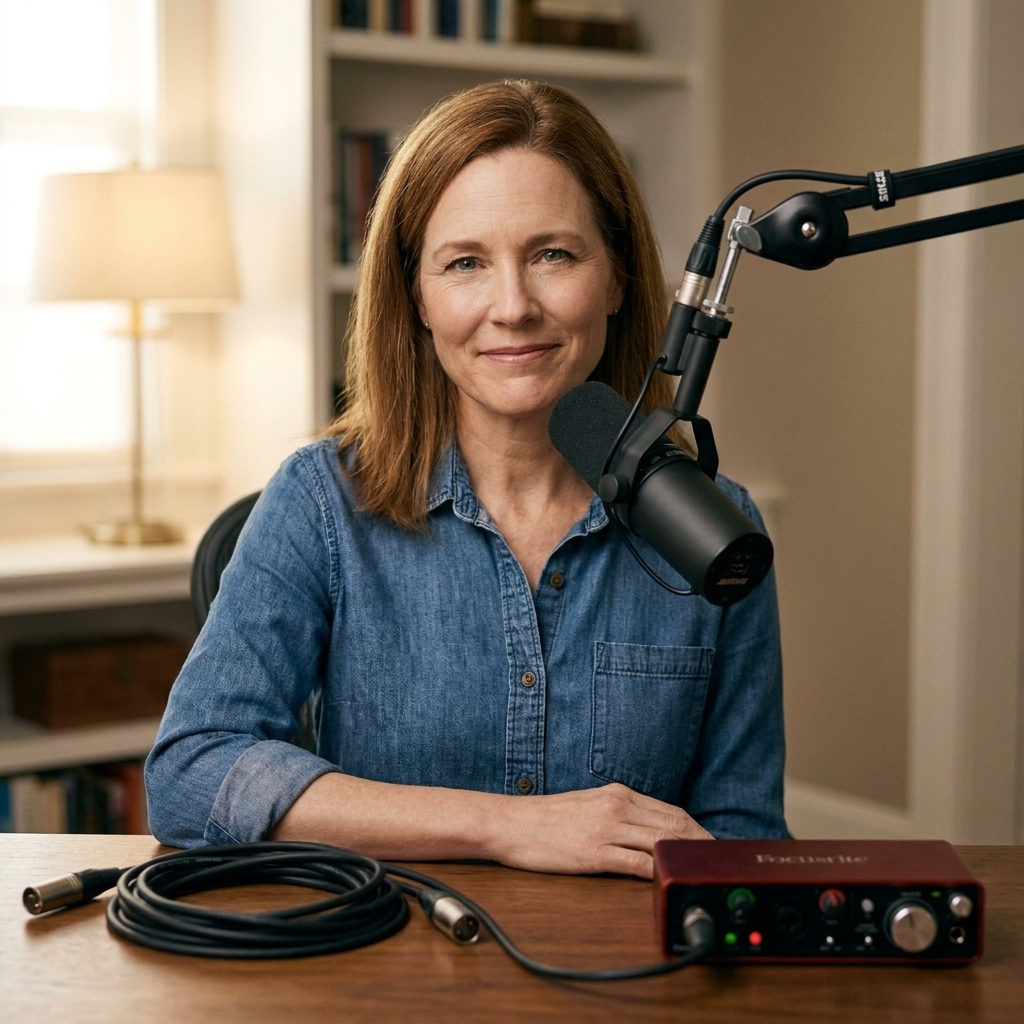
Quick setup
Placement
- Distance: Start at 2 to 6 inches for dynamics, 6 to 10 inches for condensers, then adjust.
- Angle: Aim the mic slightly off-axis, about 20 to 45 degrees, to reduce plosives and mouth clicks.
- Height: Slightly above mouth level often sounds natural and reduces nose breath blasts.
Tame the room
You do not need to build a spaceship. You do need to break up reflections. Soft materials behind and beside the mic help more than a single foam square on the wall. A thick curtain, a bookshelf, a rug, even a well-placed duvet can take “kitchen tile echo” down to “late-night NPR intimacy.”
Levels and headroom
For recording, aim so your loudest excited laugh does not clip. In practical terms, peaks around -12 dBFS to -6 dBFS in your recording software is a comfortable target. If you are always flirting with 0 dB, the mic is not the problem. Your gain staging is.
For live broadcast chains with compression and limiting , you may run levels differently. The principle stays the same: leave headroom and do not rely on “fix it later” volume.
Optional polish
Broadcast sound is mostly performance and placement, but a light touch of processing can add that finished sheen. Keep it subtle. You want “present,” not “processed.”
- High-pass filter: Roll off rumble and desk noise, often somewhere around 70 to 100 Hz for many voices.
- Light compression: Smooths peaks and keeps whispers from disappearing. Start gently and listen for pumping.
- Limiter: A safety net to catch sudden laughs or emphasis before they clip.
- Noise gate (carefully): Useful for live, but too aggressive can chop words and make the room sound unnatural.
Best picks by use
- Indie radio host in an untreated room: Shure SM7B or Electro-Voice RE20, plus a good interface and a boom arm.
- Podcaster who wants simple setup: Shure MV7 on USB, or Samson Q2U if you want a lower-cost start with an upgrade path.
- Voice actor with a treated booth: Rode NT1 for detailed, quiet narration, or AT2020 for a budget-friendly starting point.
- Live interviews and guests: RE20 for consistency, or multiple dynamics with one mic per person.
FAQ
Do I need a condenser for “professional” sound?
No. Plenty of professional radio is dynamic mic territory. “Professional” comes from controlled noise, good mic technique, clean gain, and thoughtful editing.
Is USB good enough to publish?
Often, yes. A strong USB mic in a decent room can sound excellent. The reason people move to XLR is flexibility and upgrade paths, not because USB is inherently bad.
What matters more: mic or room?
The room. A modest mic in a quiet, treated space can outperform an expensive mic in a reflective one. If you can only upgrade one thing today, start with placement and softening reflections.
The bottom line
Choosing a microphone is less about chasing a mythical “perfect” sound and more about matching a tool to your reality. If your space is noisy, lean dynamic. If your space is controlled and you want detail, a condenser can be thrilling. And whichever direction you go, remember the most broadcast thing you can do is simple: get the mic close, keep the room calm, and let the performance carry.